Lime Mortar Grout Renovated in 300 Year-Old Cottage Bury
We received an unusual request from the owner of an old cottage in Bury who was unhappy with the state of the grouting in their Kitchen. The customer advised us that the floor was very old and originally grouted with a lime mortar also that they had been in touch with several companies before contacting us including tilers and masons and none of them was interested.
Intrigued I paid the customer a visit to survey the floor and work out the best way to renovate the grout. The cottage turned out to be three hundred years old and the owner wanted to keep the Quarry tiled floor which was laid in a Herringbone pattern and still in good condition as a period feature as it complemented the rustic look of the cottage.

After testing the floor, I was able to confirm it was indeed Lime Mortar which was historically used on walls and natural stone floors until the 19th century when it was replaced by cement. The mortar was now grubby and had shrunk in places where it had then been topped up with conventual grout resulting in a patchy appearance.
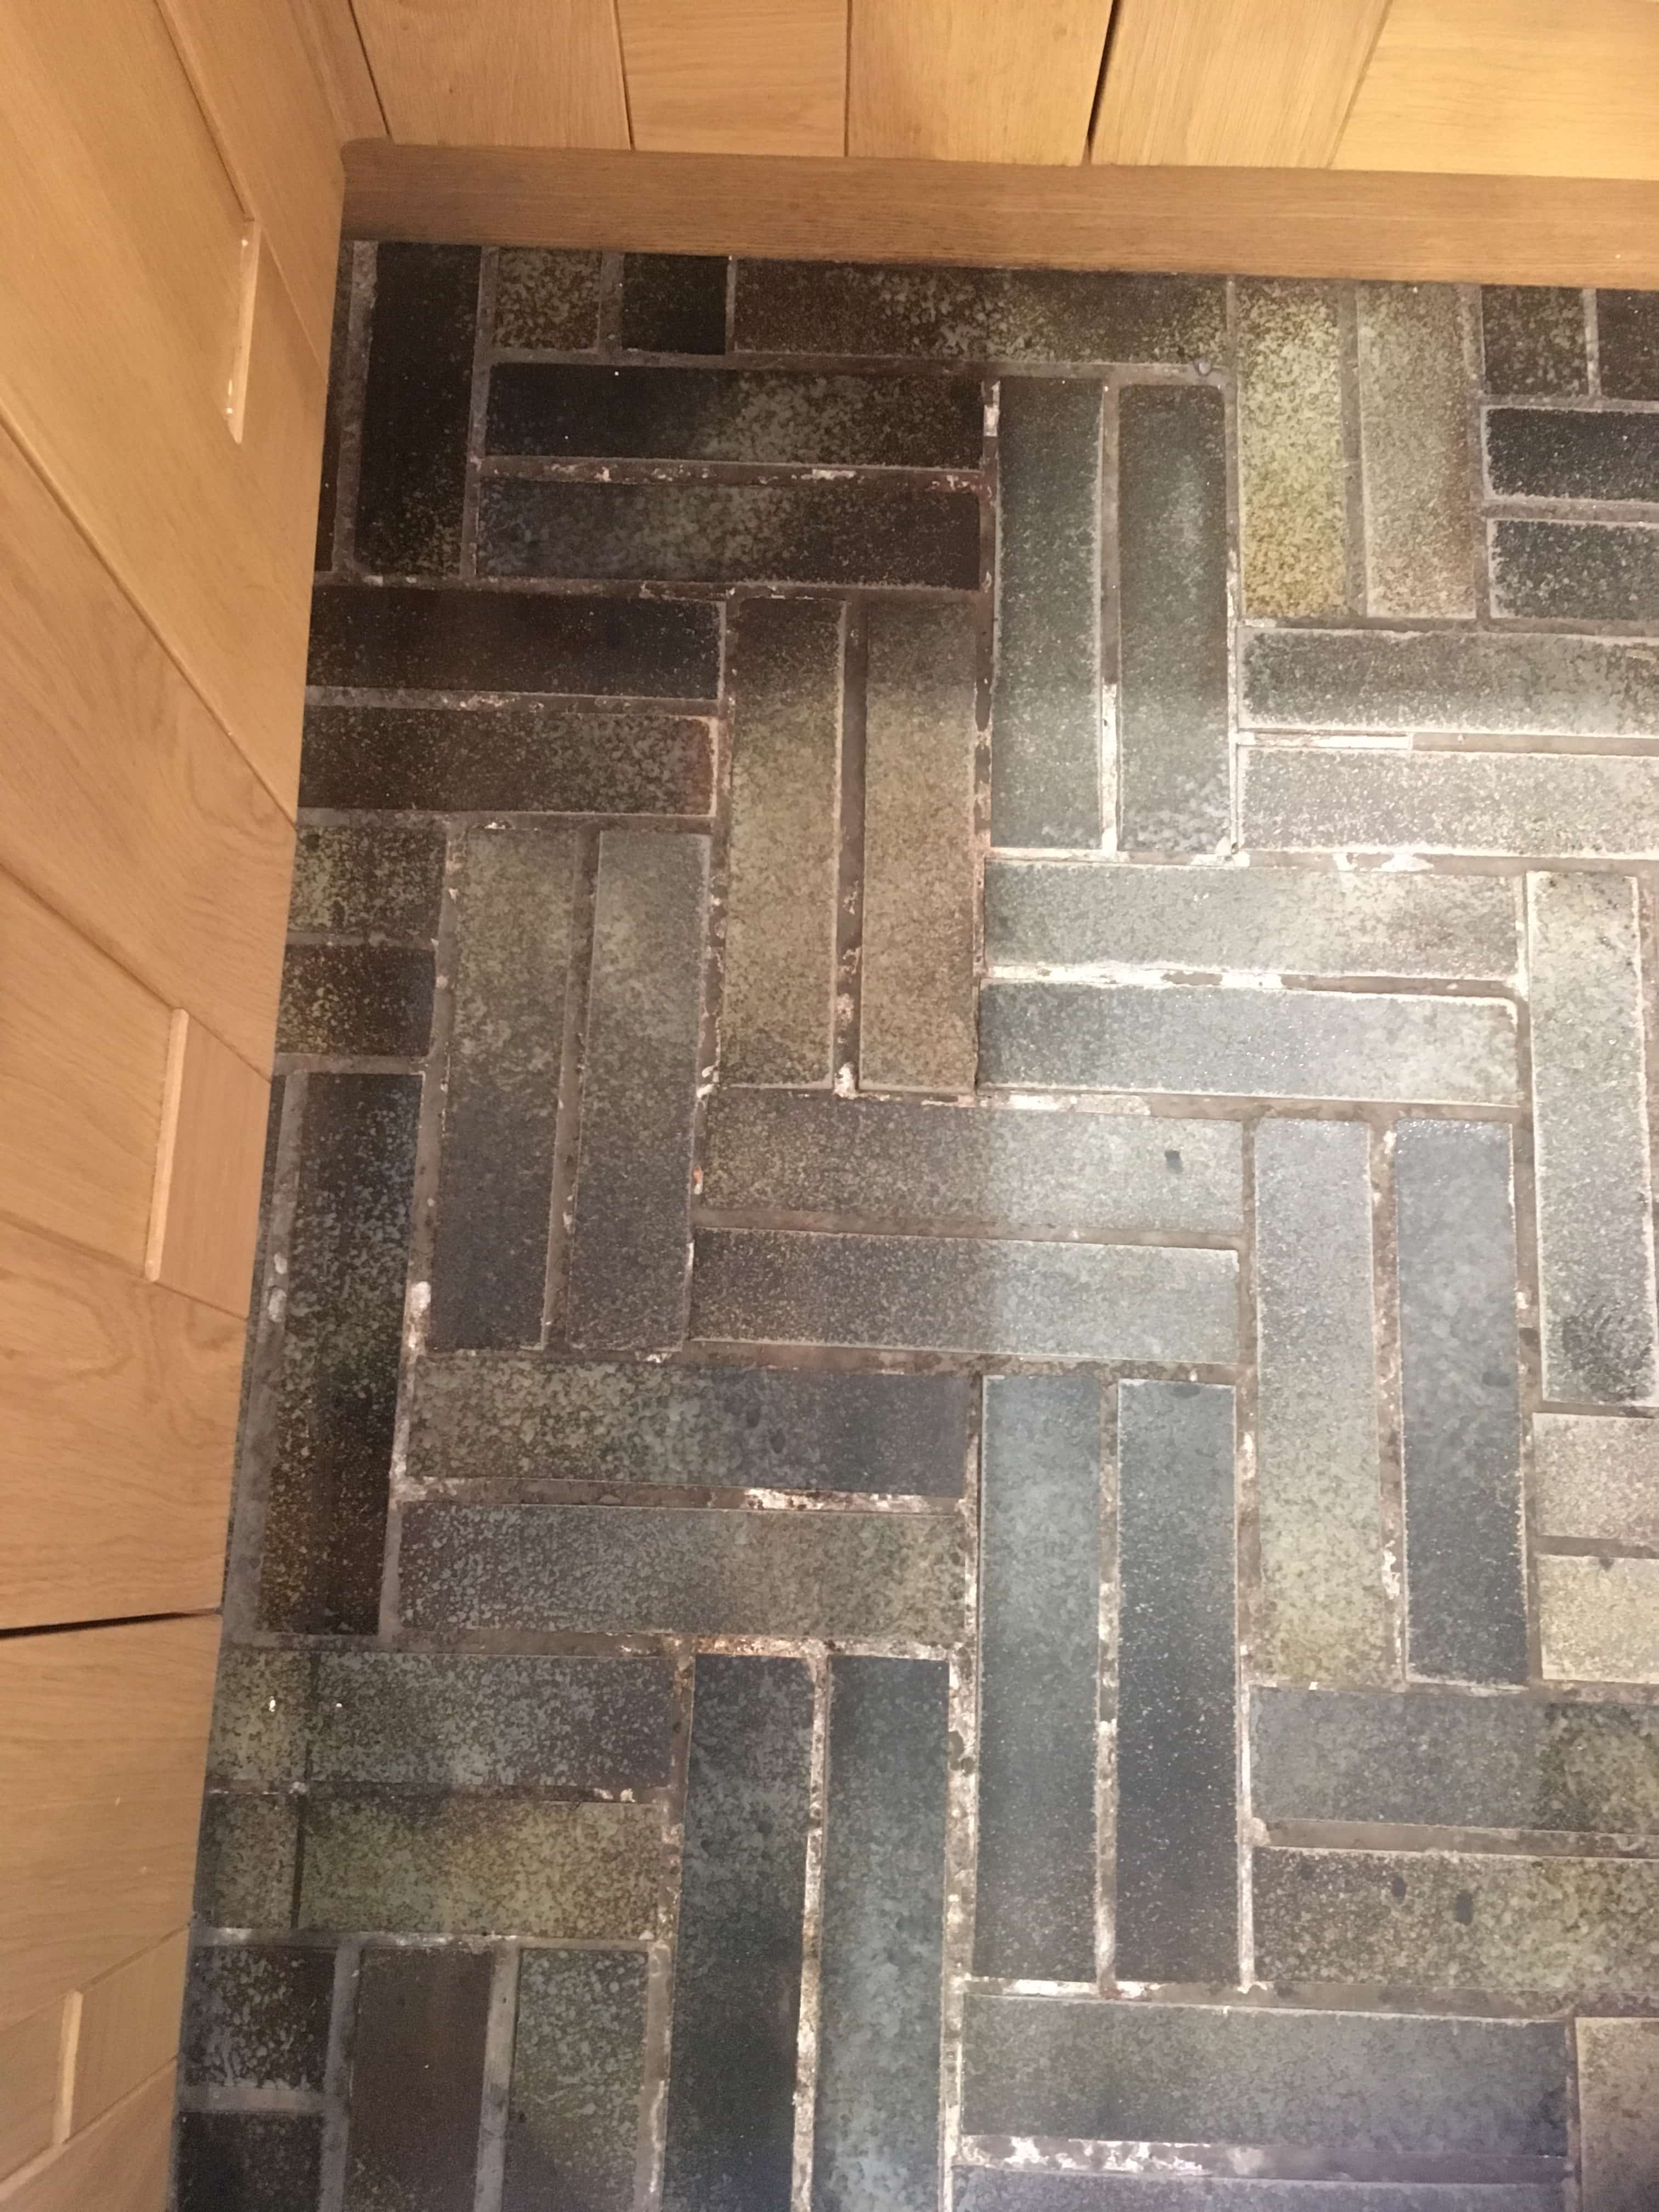
I felt simply cleaning the grout wouldn’t resolve the irregular look so my suggestion was to use a grout colourant that would sit on the surface of the grout and provide a uniform appearance. I must point out that the Grout Colourants used by Tile Doctor are not like grout pens you see on home make over shows, they are much more effective.
Applying a Grout Colourant to Lime Mortar
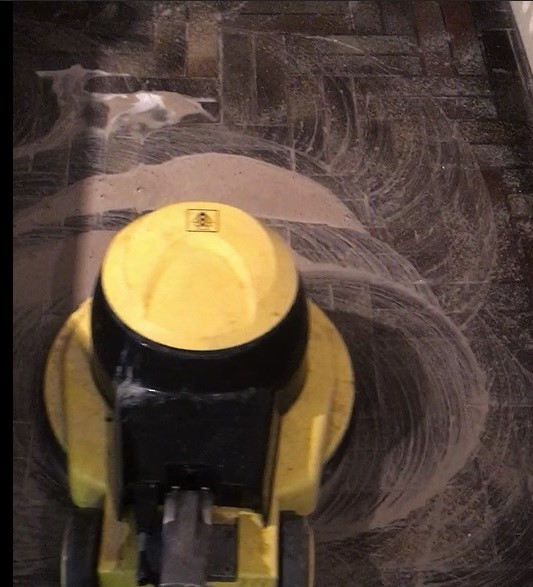
Happy to go with my recommendation I set about preparing and cleaning the Quarry tile and mortar with a strong dilution of Tile Doctor Pro-Clean. This is sprayed onto the floor and then scrubbed in with a buffing machine fitted with a scrubbing pad. This action turns the cleaning solution into a slurry as the dirt is lifted out of the floor which is then rinsed off with water and extracted with a wet vacuum. Tile Doctor do sell a Grout Colourant Pre-Treater product that has been especially designed for this purpose however it’s slightly acidic and so not something I would recommend for use on lime mortar.
Once the floor had dried, I started with the grout colouring which is painted onto the surface with a small brush. Two thin coats of natural grey colourant were applied and any excess that came into contact with the quarry tile was quickly wiped off with a cloth. The product dries within two hours but takes twenty-four hours to fully harden.
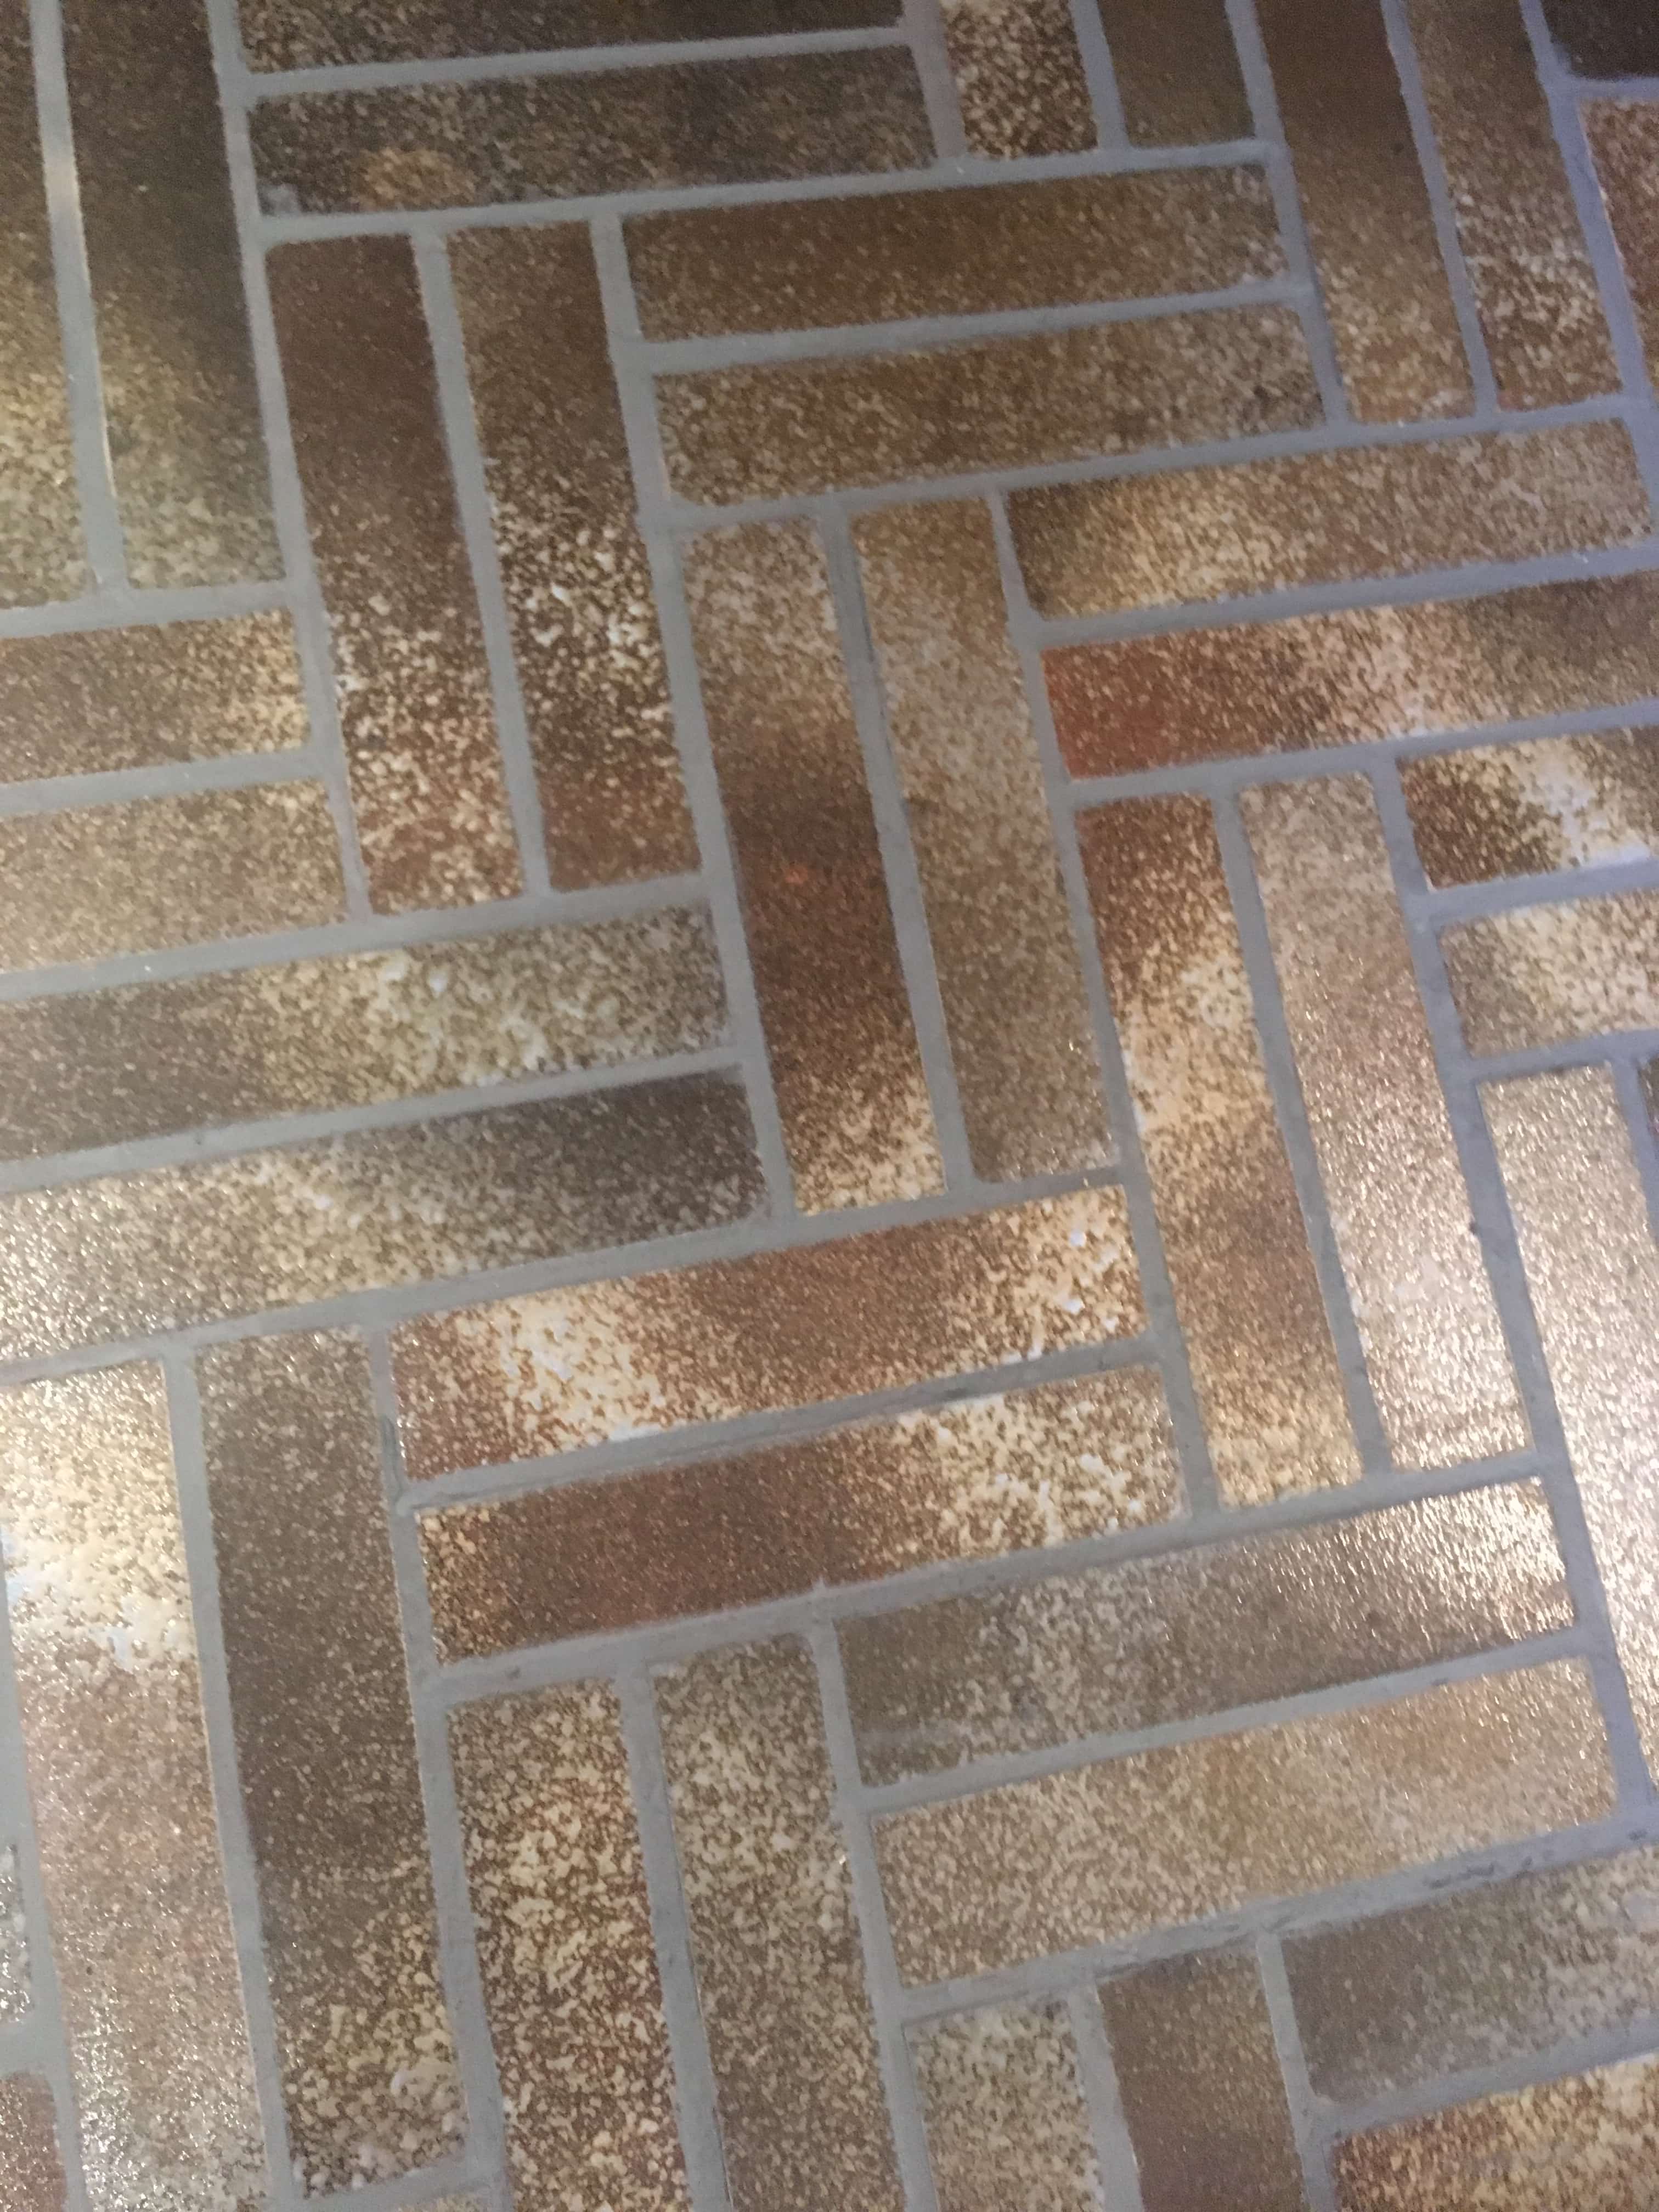
I think you will agree the results speak for themselves and made the area look nearly new! My client was certainly impressed and left the following feedback which says it all:
Kamila was professional, courteous and very hard working. I am delighted by the job done on a very old difficult tiled floor. I would not hesitate to use Tile Doctor again or in recommending them to a friend. – Mrs Law, Bury
Lime Mortar Floor Grout Renovated in Greater Manchester
Lime Mortar Grout Renovated in 300 Year-Old Cottage Bury Read More »

