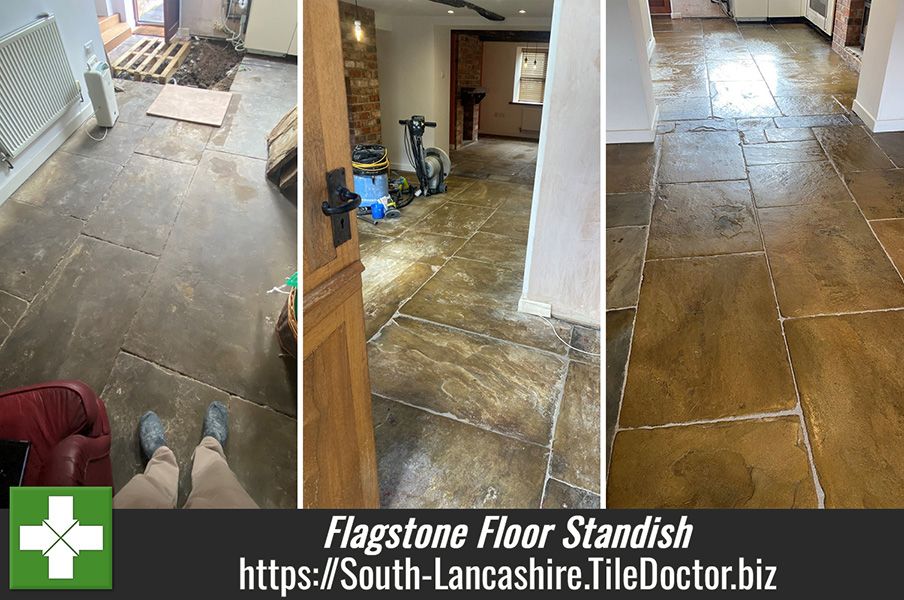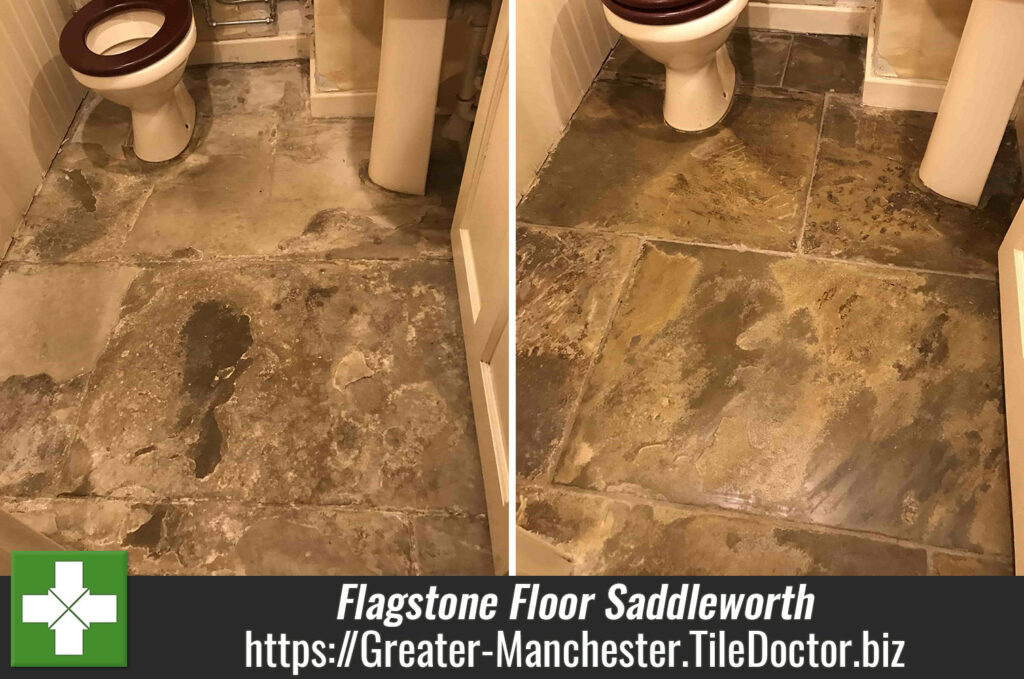
Transforming Worn Flagstone Flooring at a Saddleworth Farmhouse
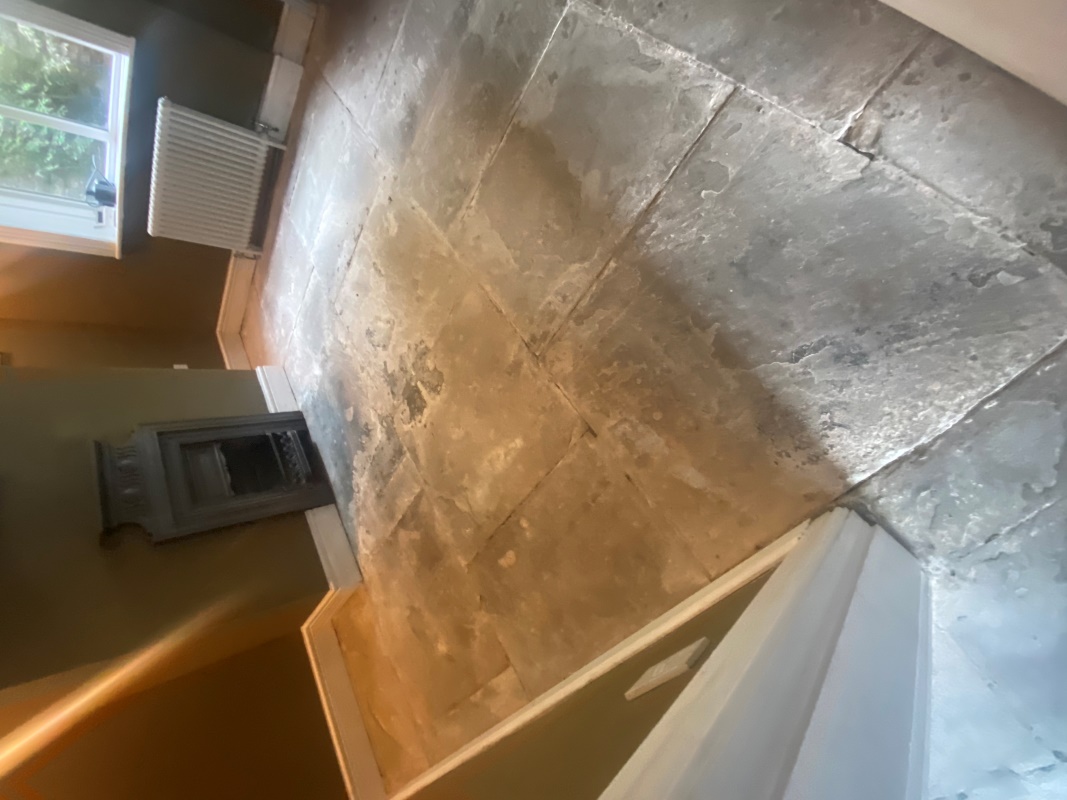
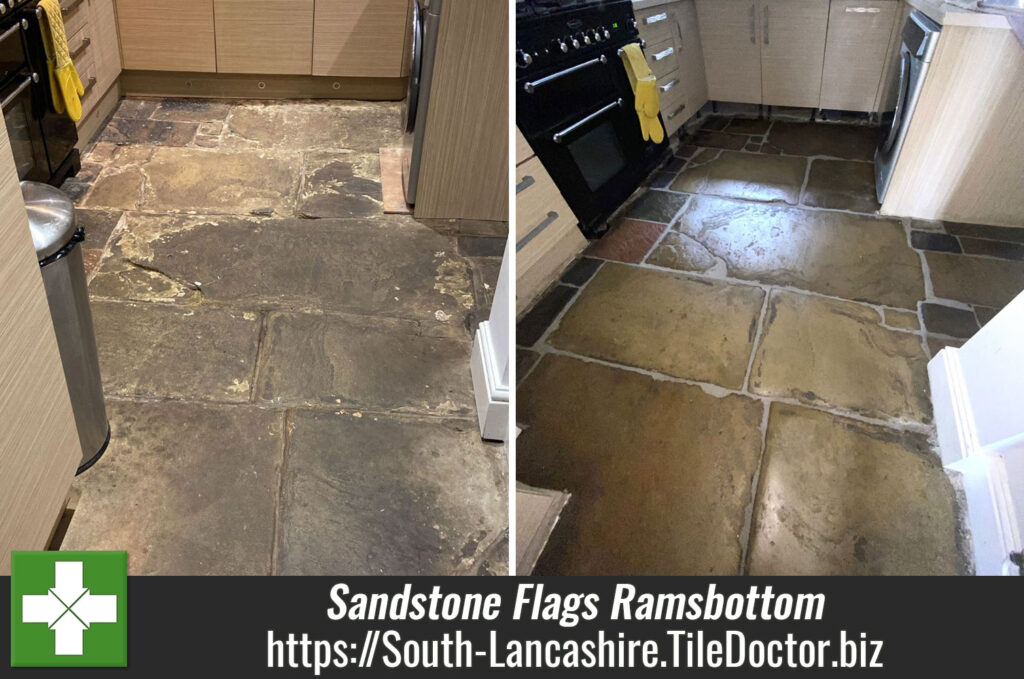
The owner of an old Farmhouse in rural Saddleworth got in touch late last year to see what could be done with the Flagstone flooring that ran through the hallway and front room.
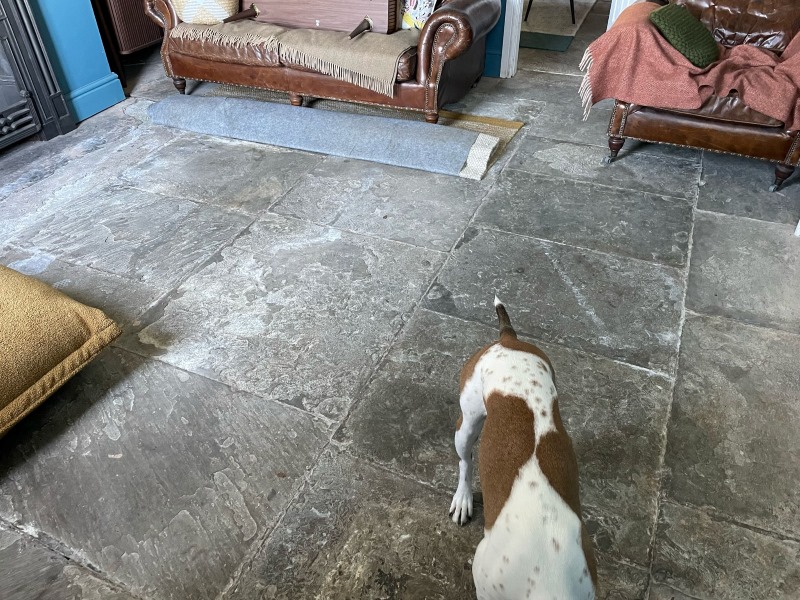
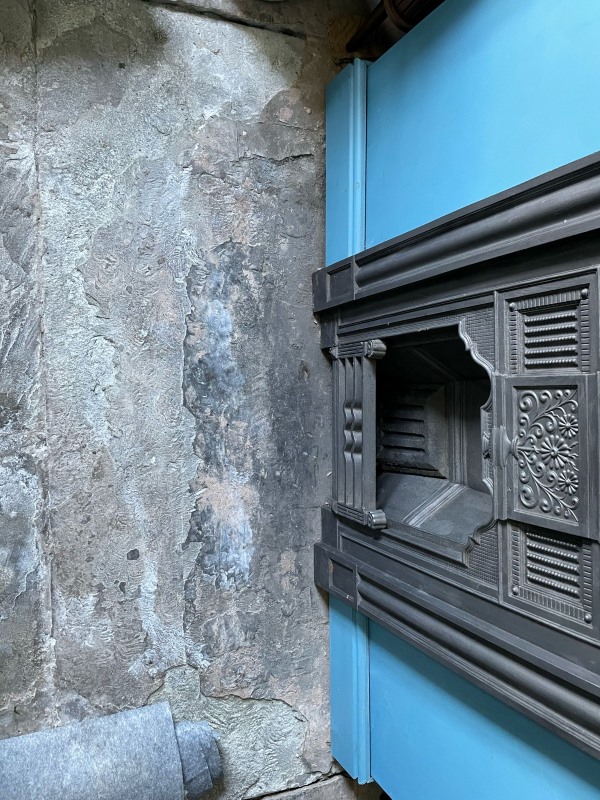
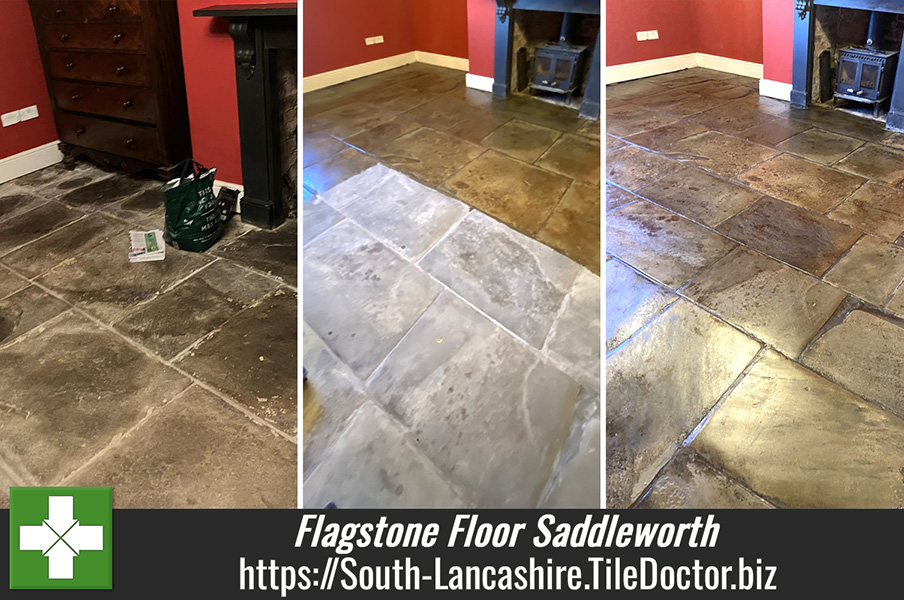
I paid a visit to the property to survey the floor and could see the flagstones were very dark with all the ingrained dirt they had accumulated. You could no longer see any of the natural features of what can be a very beautiful stone. They were also very badly worn and stained so I recommended the best course of action would be to mill the stone to remove the top layer and reveal new uncontaminated stone underneath.

After measuring up I worked out a detailed quote for the complete restoration of the floors and emailed it over to the owner. Happy with the quote and having seen similar Flagstone floor restoration work on our website we were given the go ahead and a date set so the floor would be complete in time for Christmas.
 |
 |
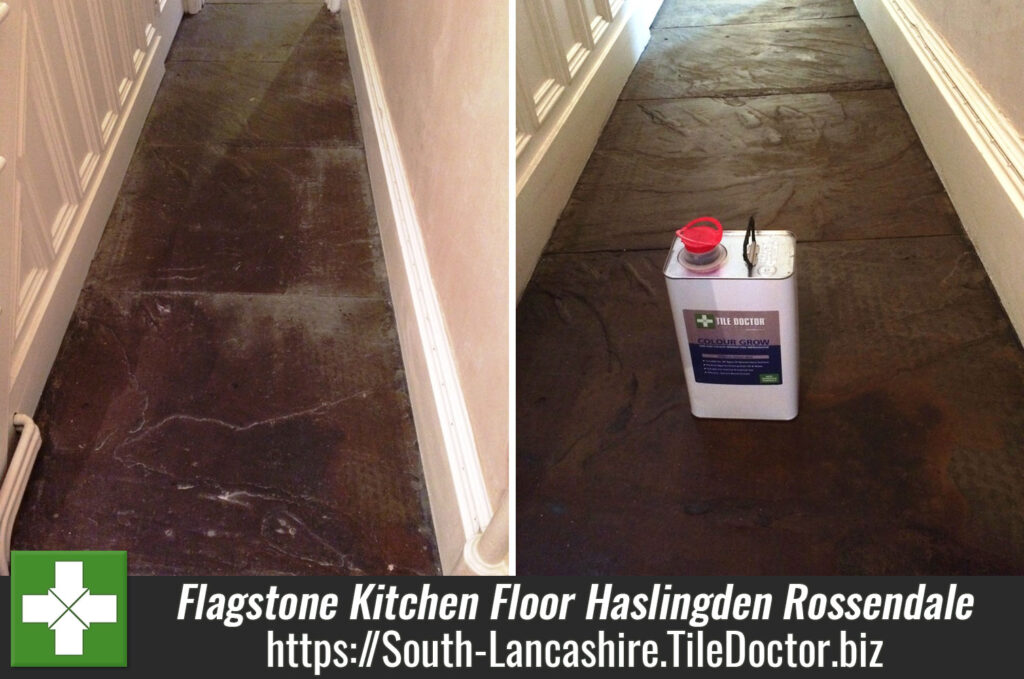
Cleaning a Flagstone Tiled Floor
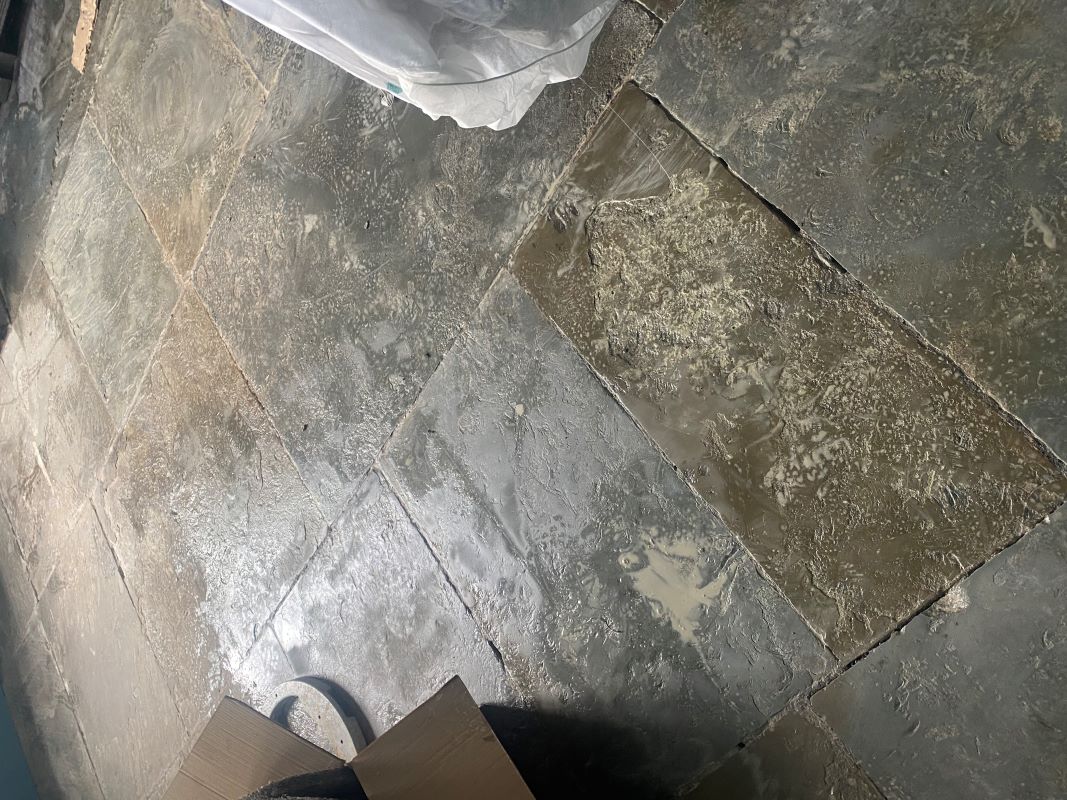
One of the advantages of milling a floor is you only need to use a set of milling pads and water; there’s no need to use any cleaning products first. Because of this once the low-speed weighted floor buffer was setup I could get to work immediately milling the floor. I use a set of Tile Doctor Flexi Diamond Milling pads for this which come in several grits. You start with the very coarse 50-grit and work up from there running the pad over each tile several times to cut back the. Water is used to lubricate the process and after each pad the floor is rinsed with more water and the soiling extracted with an industrial wet vacuum.

The pads also remove any flaking or loose material from the surface of the flagstones and any loose mortar between the flags soon works itself free. As a result, it’s necessary to go over all the mortar one the milling is complete, remove any that’s loose and replace it.
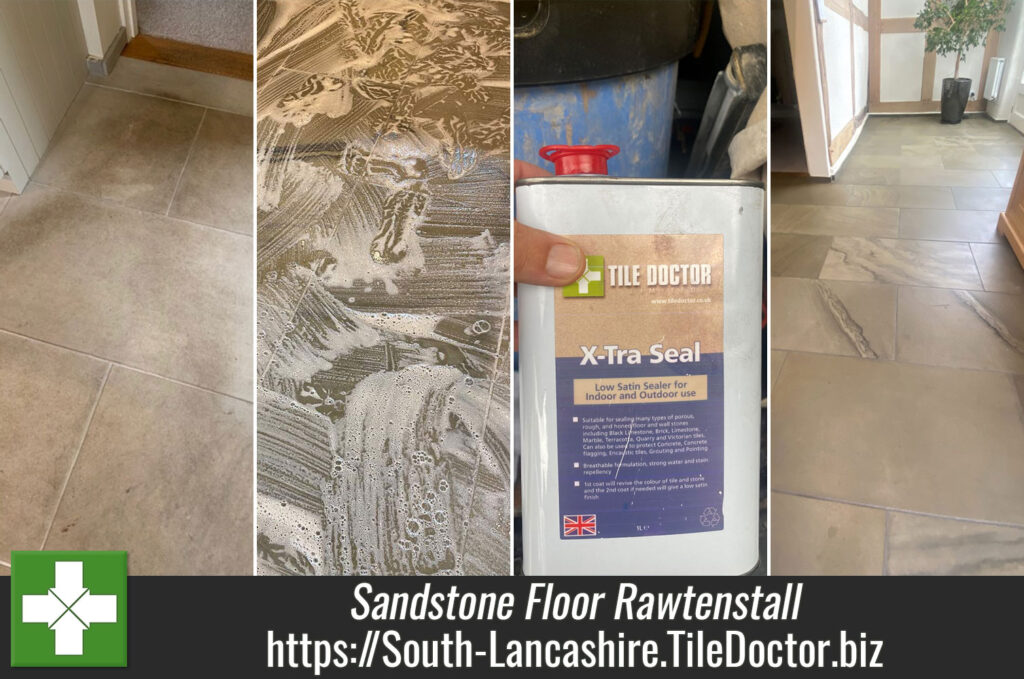
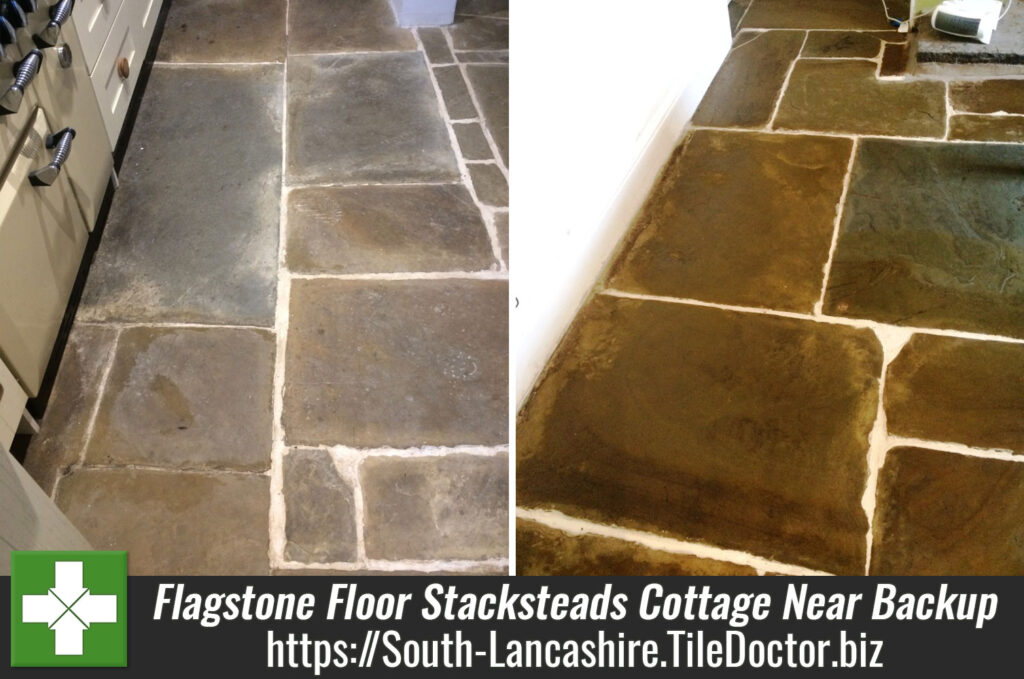
Sealing a Flagstone Tiled Floor
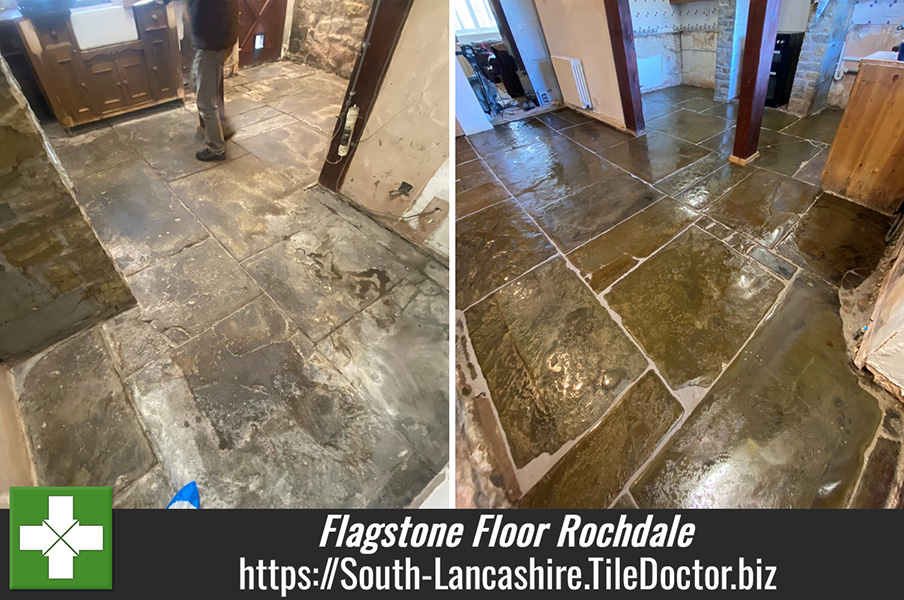
Once the flagstones were fully dry, I started applying the sealer which for this floor I applied Tile Doctor X-Tra Seal and then buffed off the excess. This is a hard-wearing oil-based sealer that adds structure and colour to the stone, it’s also rated for external use so was ideal for the hallway. X-Tra Seal is also fully breathable which is an important feature for old floors like this that don’t have a damp proof membrane.

Once sealed the floor really came alive and you could now see the unique and individual features in each of the flagstones. It was a lot of work but I was very pleased with the result, I always find it rewarding to see an old floor transformed. The farmhouse owner was also happy and left the following feedback:
 |
 |
The new sealer is an impregnator that occupies the pores of the stone preventing dirt from residing there, this ensures dirt remains on the surface where it can be easily cleaned away. Regarding aftercare cleaning I recommended Tile Doctor Neutral Tile Cleaner which is an effective and sealer friendly tile cleaner.

Professional Restoration of a Flagstone Tiled Floor in South Lancashire
Transforming Worn Flagstone Flooring at a Saddleworth Farmhouse Read More »