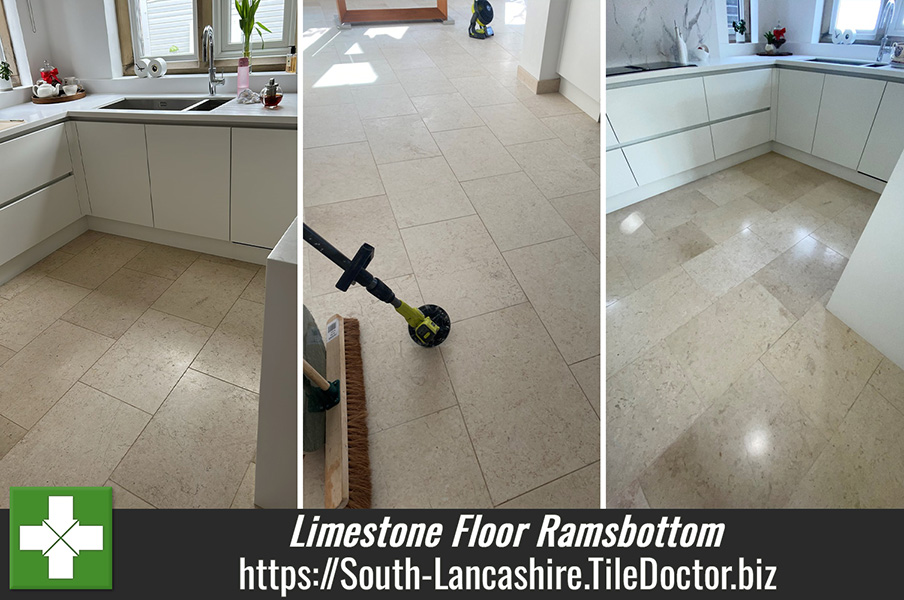
Ten-Year-Old Limestone Kitchen Floor Cleaned and Polished in Ramsbottom
A homeowner from Ramsbottom who had used Tile Doctor before asked if we could quote for renovating their Limestone tiled floor. The floor was extensive and had been laid throughout their large Kitchen, Dining and Garden Room.
The limestone tiles had been down around ten years and were now dull and due some maintenance which was not unexpected as inevitably the sealer wears down with use and without its dirt becomes ingrained in the pores of the stone.
 |
 |
I went over to measure up the floor and produce a quote for cleaning, polishing and then resealing the floor. The tiles were laid with a cream grout which had darkened in some areas with dirt and would also need cleaning. Whilst there, the owner confirmed they had been using Tile Doctor’s pH Neutral Tile Cleaner to maintain the floor which was good to see as it does help the sealer last longer. There were no other issues except a few stubborn stains that would need some extra attention.
 |
 |
Having surveyed the floor and noting it had become dull we quoted to restore the honed finish and seal using a clear sealer. This was accepted and dates agreed.
Cleaning a Limestone Tiled Kitchen
To restore the appearance of the limestone a weighted rotary buffing machine running at a slow 150 rpm was used to apply a set of Tile Doctor Diamond Burnishing Pads. The extra weight ensures good contact with the stone and is used to run each pad over the floor using only water for lubrication. The coarse pad removes dirt and old sealers whilst the finer pads restore the honed finish of the stone and build up a polish.
A wet vacuum is used after each pad to remove the soiling and then the grout lines were scrubbed using Tile Doctor Pro-Clean and a power brush.

Sealing a Limestone Tiled Kitchen
Once fully dry, the last pad in the set which is a super fine 3500-grit was run over the floor to complete the honing. This last pad is applied dry with only a little water sprayed onto the tile to give the finished polished look.
 |
 |
Once complete, the next step was to protect the floor by applying a natural look breathable sealer called Tile Doctor Ultra Seal. The sealer works by occupying the pores in the stone thereby ensuring dirt remains on the surface where it can be easily cleaned away.

I’m pleased to say my client was very happy with the result and left the following five-star feedback:

Professional Restoration of a Limestone Tiled Kitchen in South Lancashire
Ten-Year-Old Limestone Kitchen Floor Cleaned and Polished in Ramsbottom Read More »